I have wanted to do a blog post on this topic for some time, so here it is.
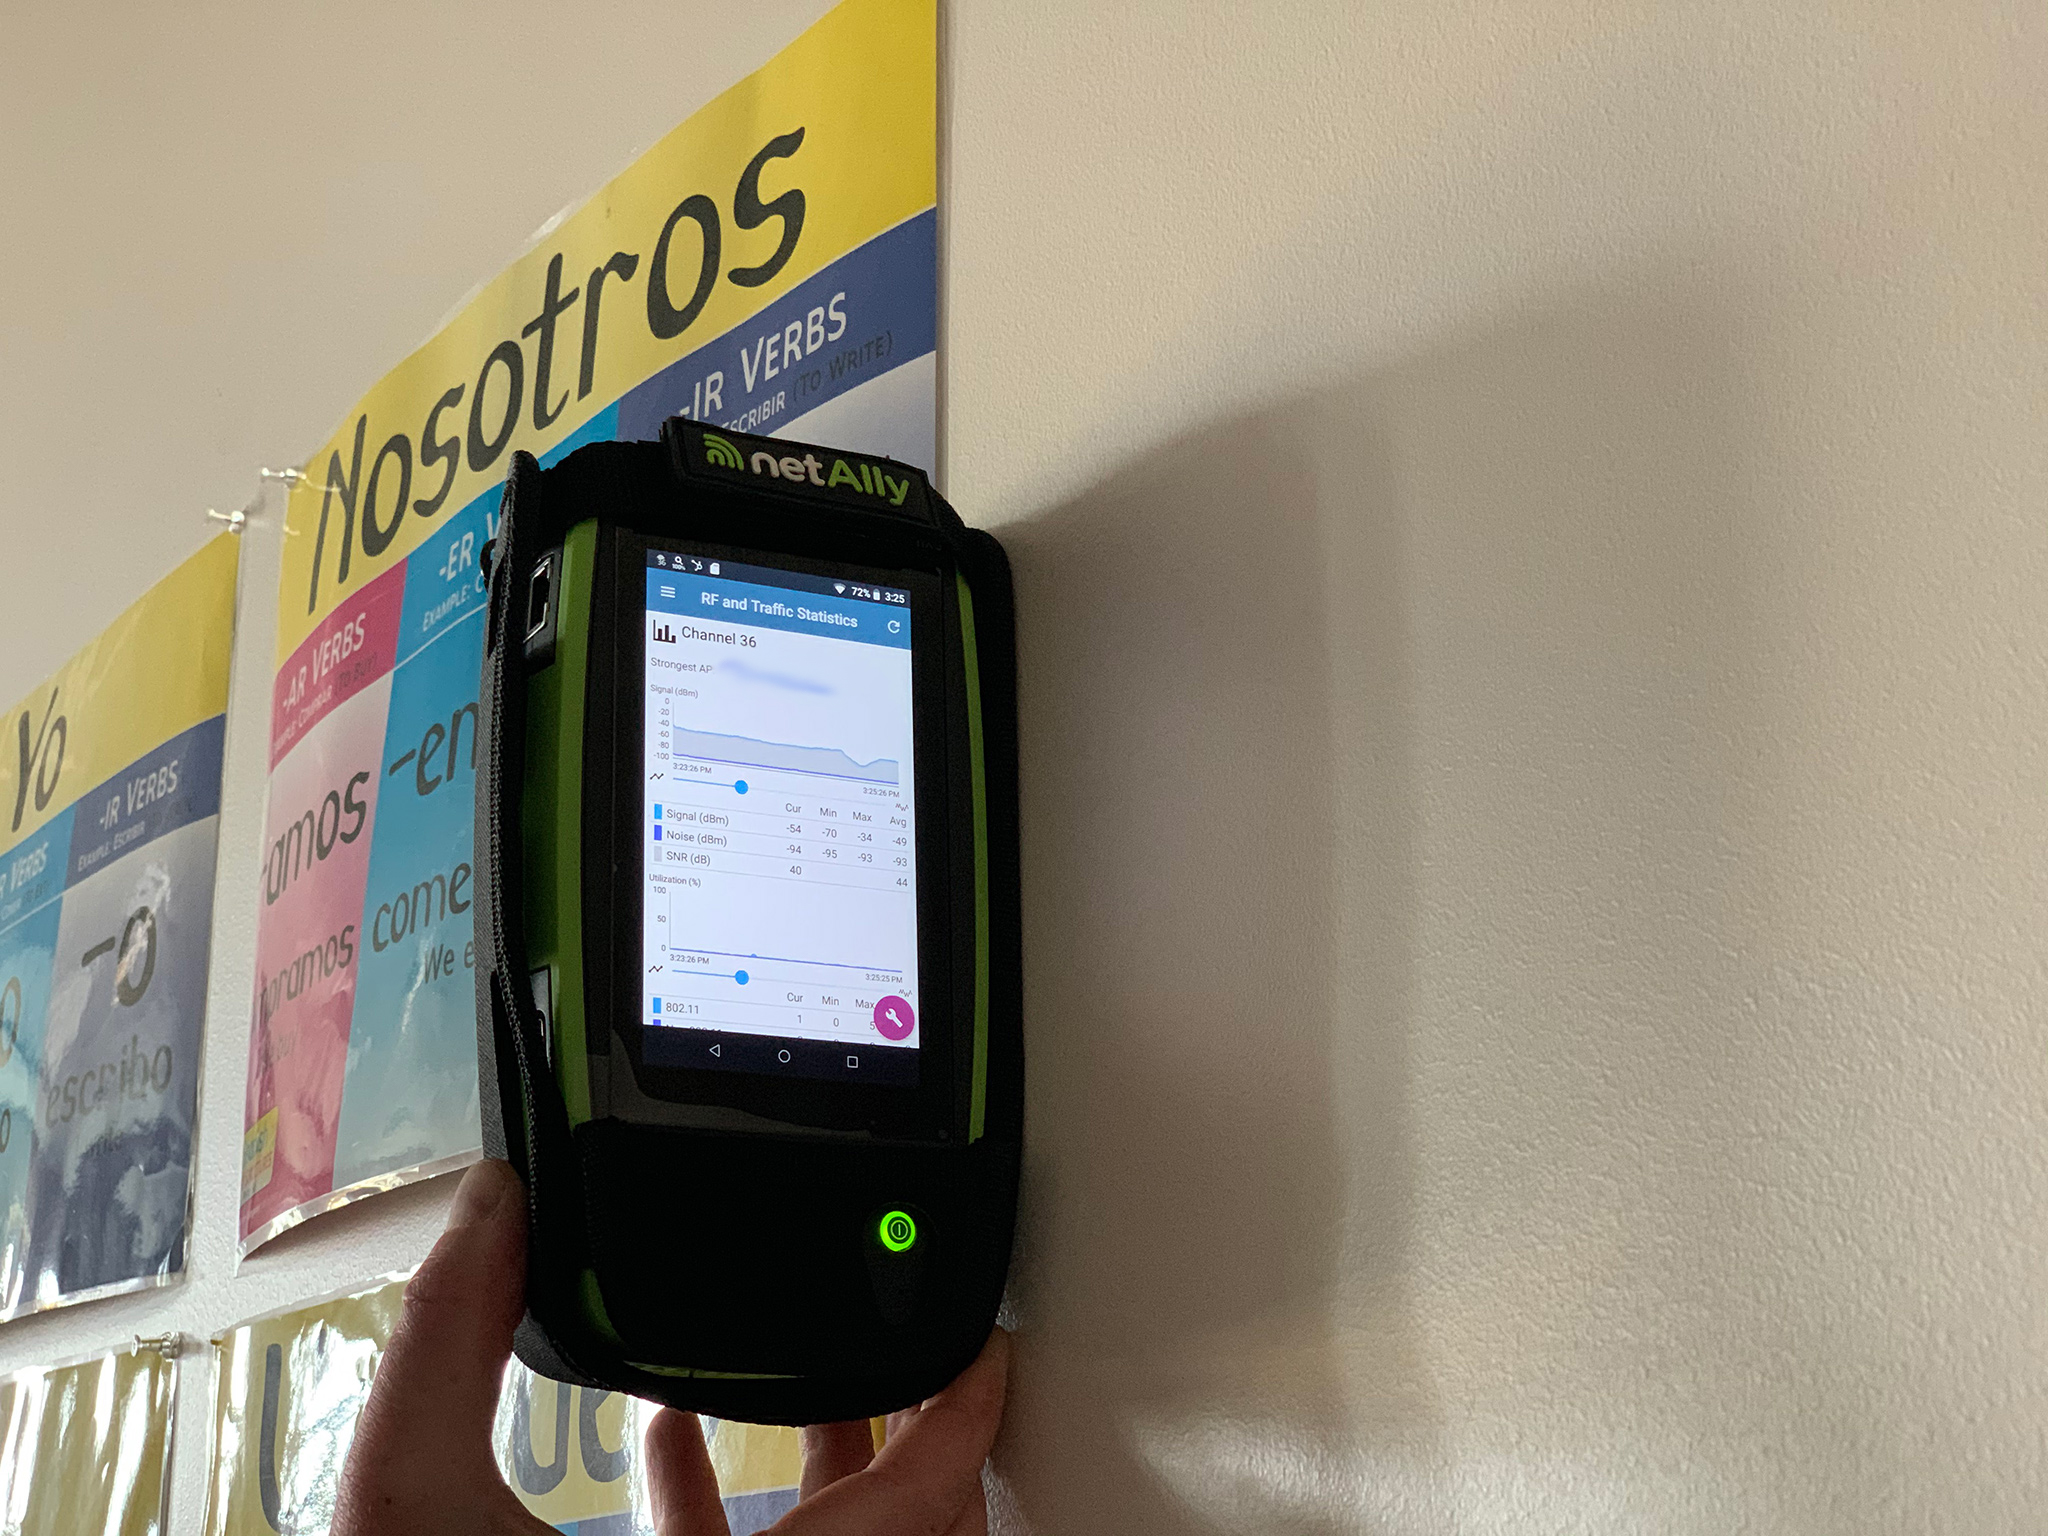
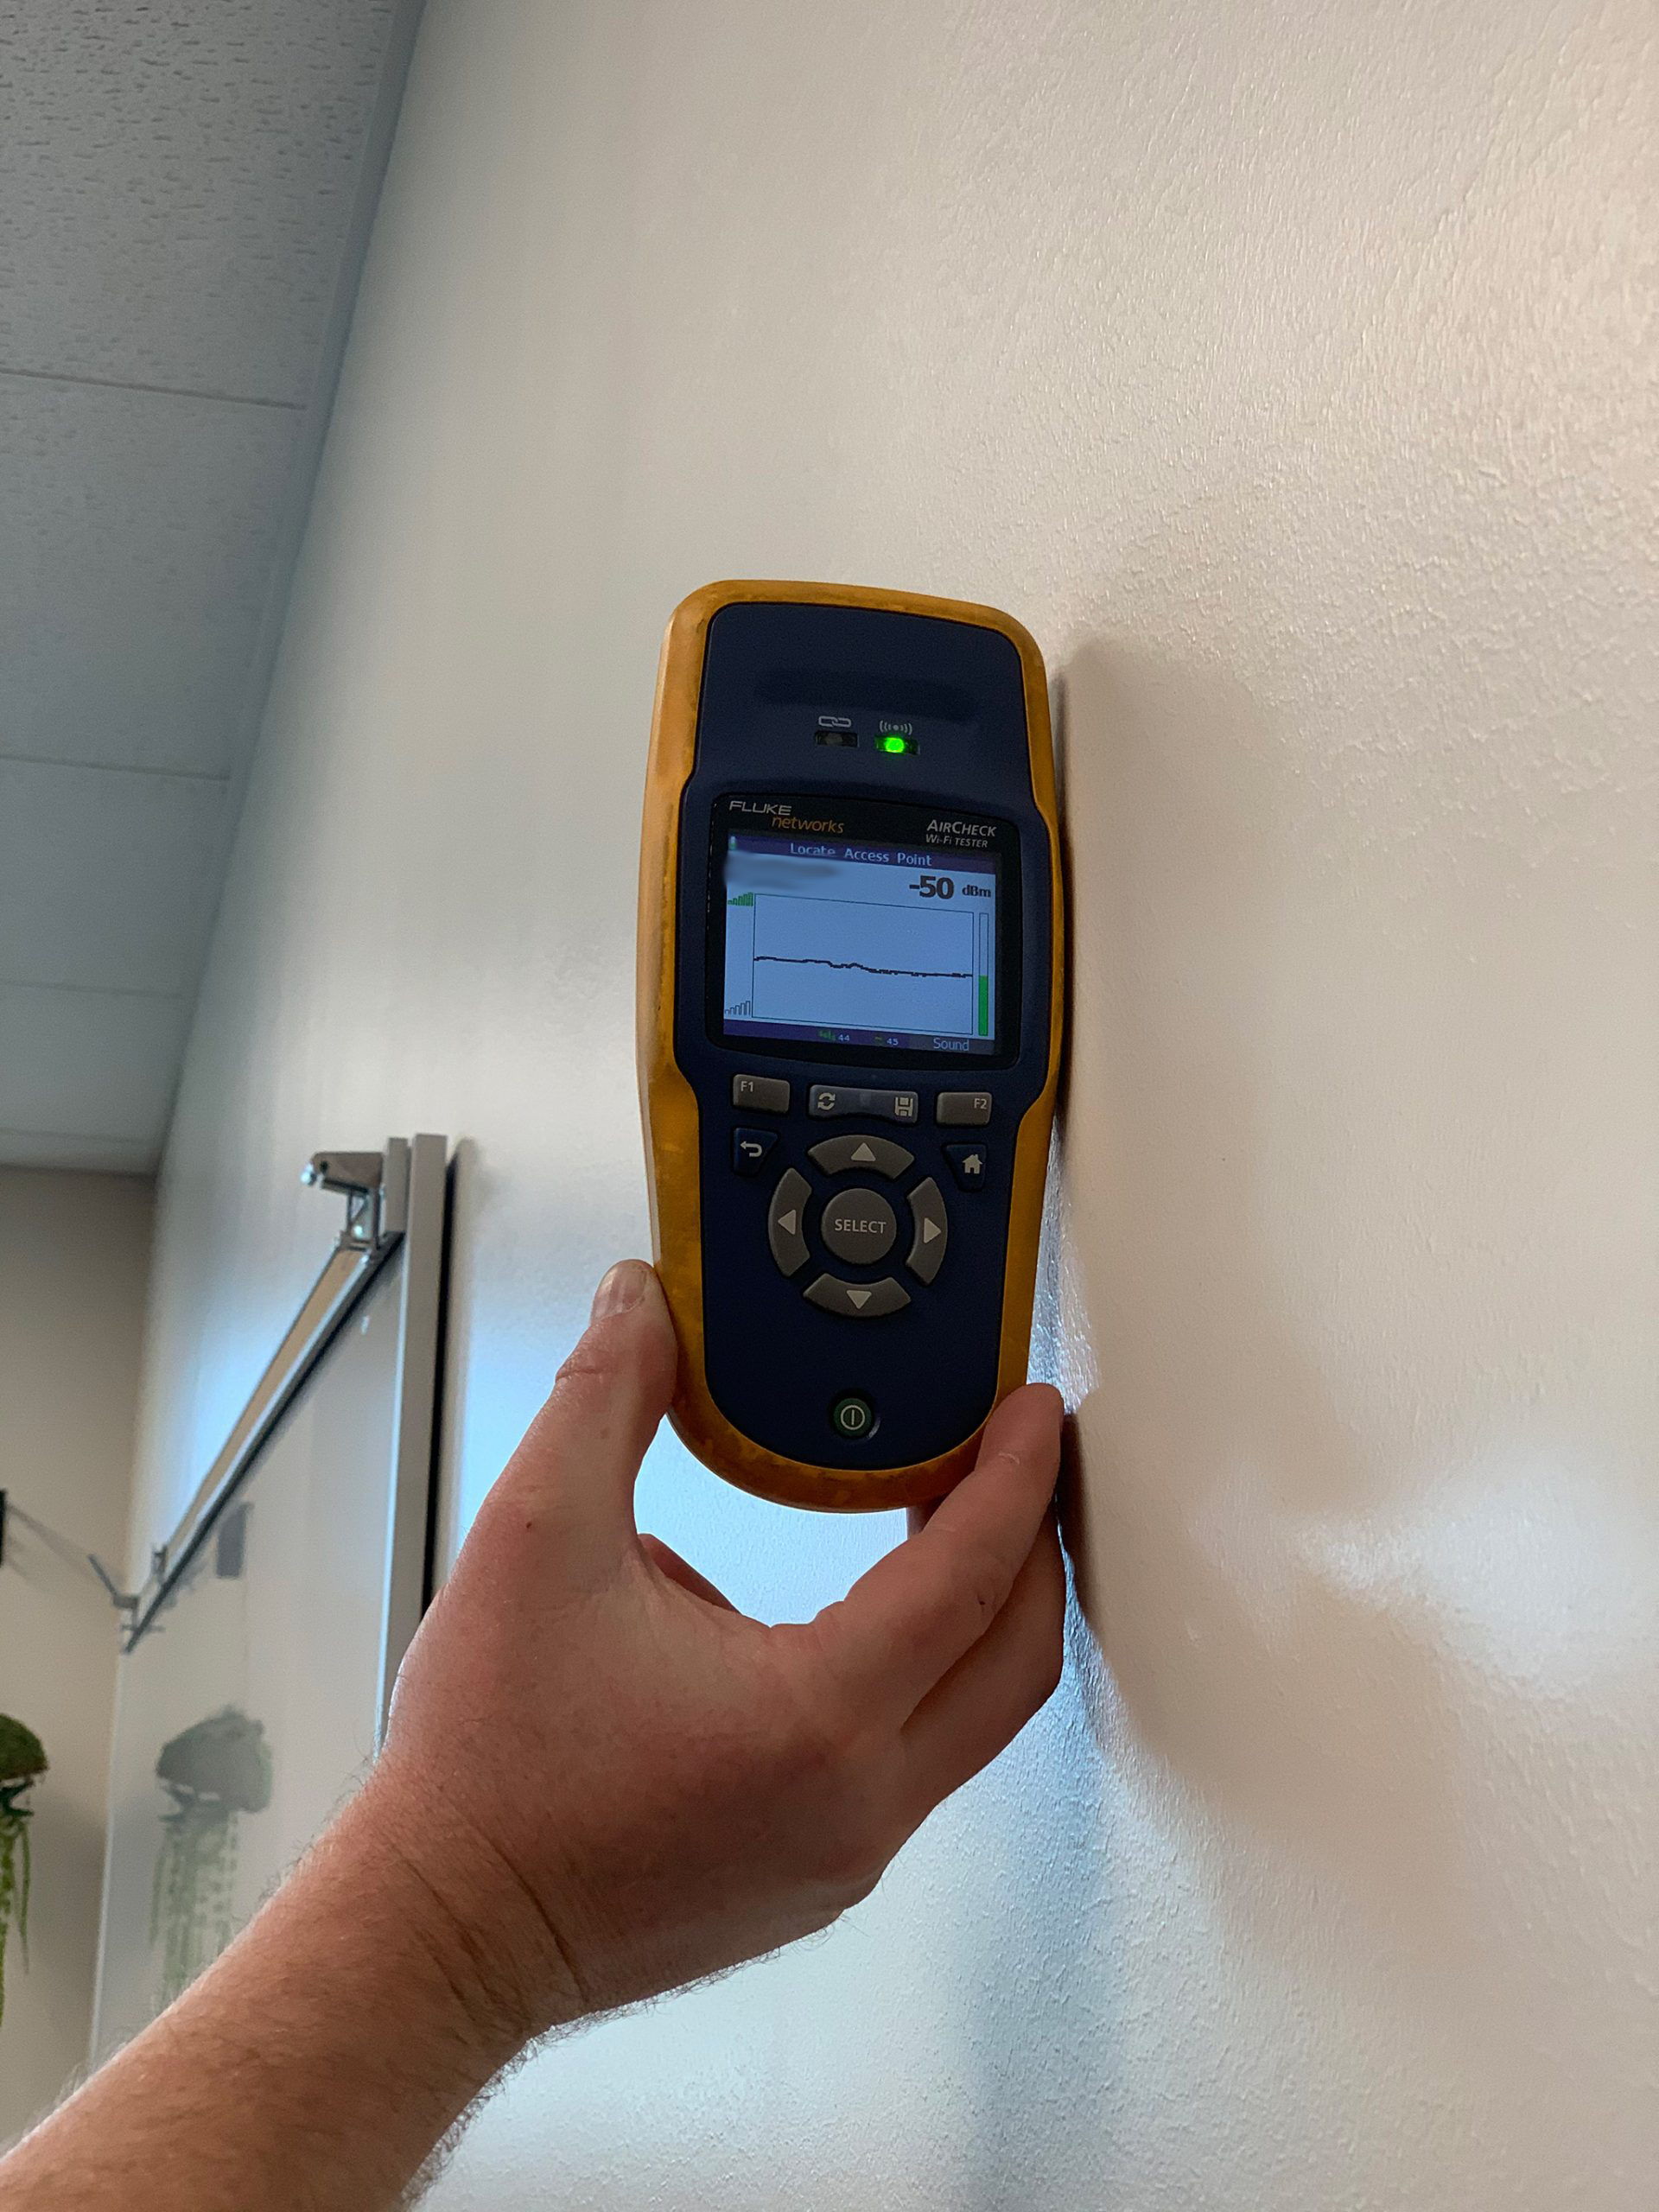
For this post, I will be describing the process of measuring the DB loss or attenuation of a wall. This test is fairly easy to perform and needs minimal tools, such as an AP and a device to measure the signal. For my testing, I will be using a Ruckus R710 AP, a Fluke Aircheck, and a NetAlly EtherScope nXG. I will be measuring on 5 GHz channel since that is what I primarily design for, the process should be the same for other frequencies.
When gathering the data make sure to take into account Free Space Path Loss (FSPL) to avoid getting inaccurate data.

I try to gather the data for wall attenuation when I am roughly 8 meters (or about 26 feet) away from the AP. (To find out more about FPSL you can check out François Vergès blog, he gives some great information on the subject. Free Space Path Loss Diagrams)
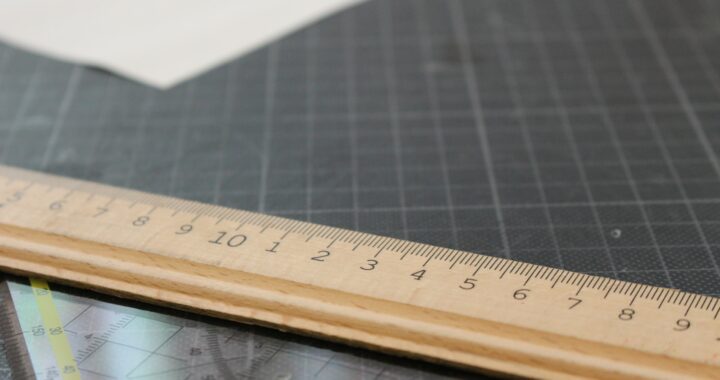
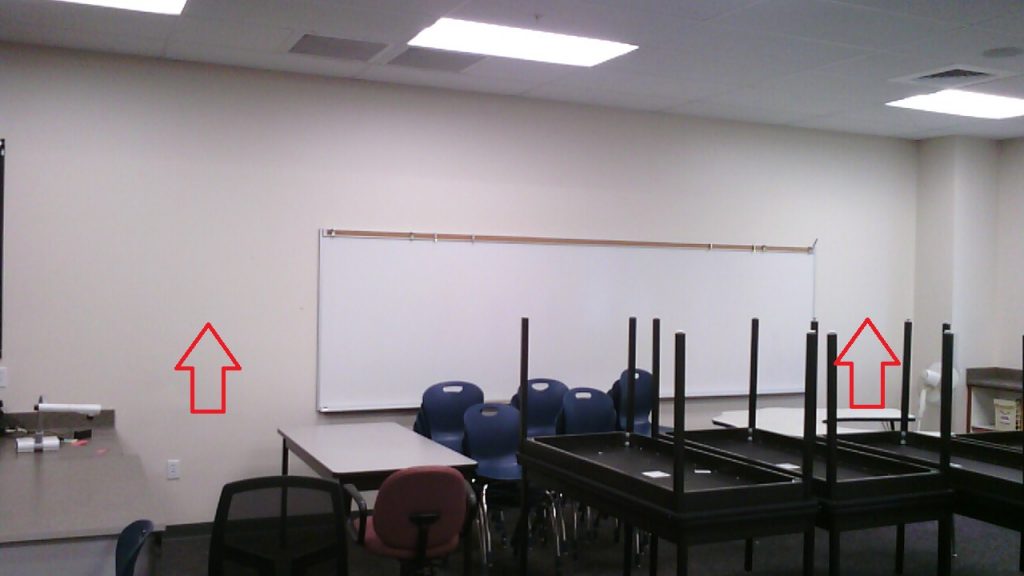
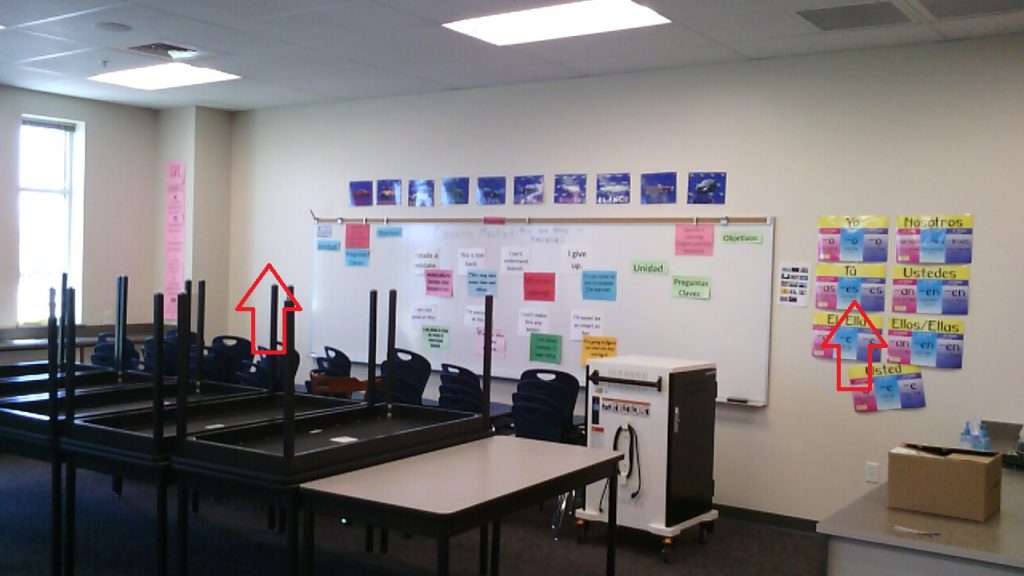
Pick a location on either side of the wall that is the same height and distance (using a tape measure or laser measuring tool to determine these locations may be necessary) and free from any obstructions. Although these may not be the best examples, I tend to measure at least 2 locations, but more may be needed depending on your environment.
If your measuring device allows you to do so make sure to stop scanning all channels and focus on the single-channel that your AP is broadcasting on. Place the device against the wall and try to stand and hold it in such a way that the body does not interfere with the signal being gathered. record the data and move on to the next location.
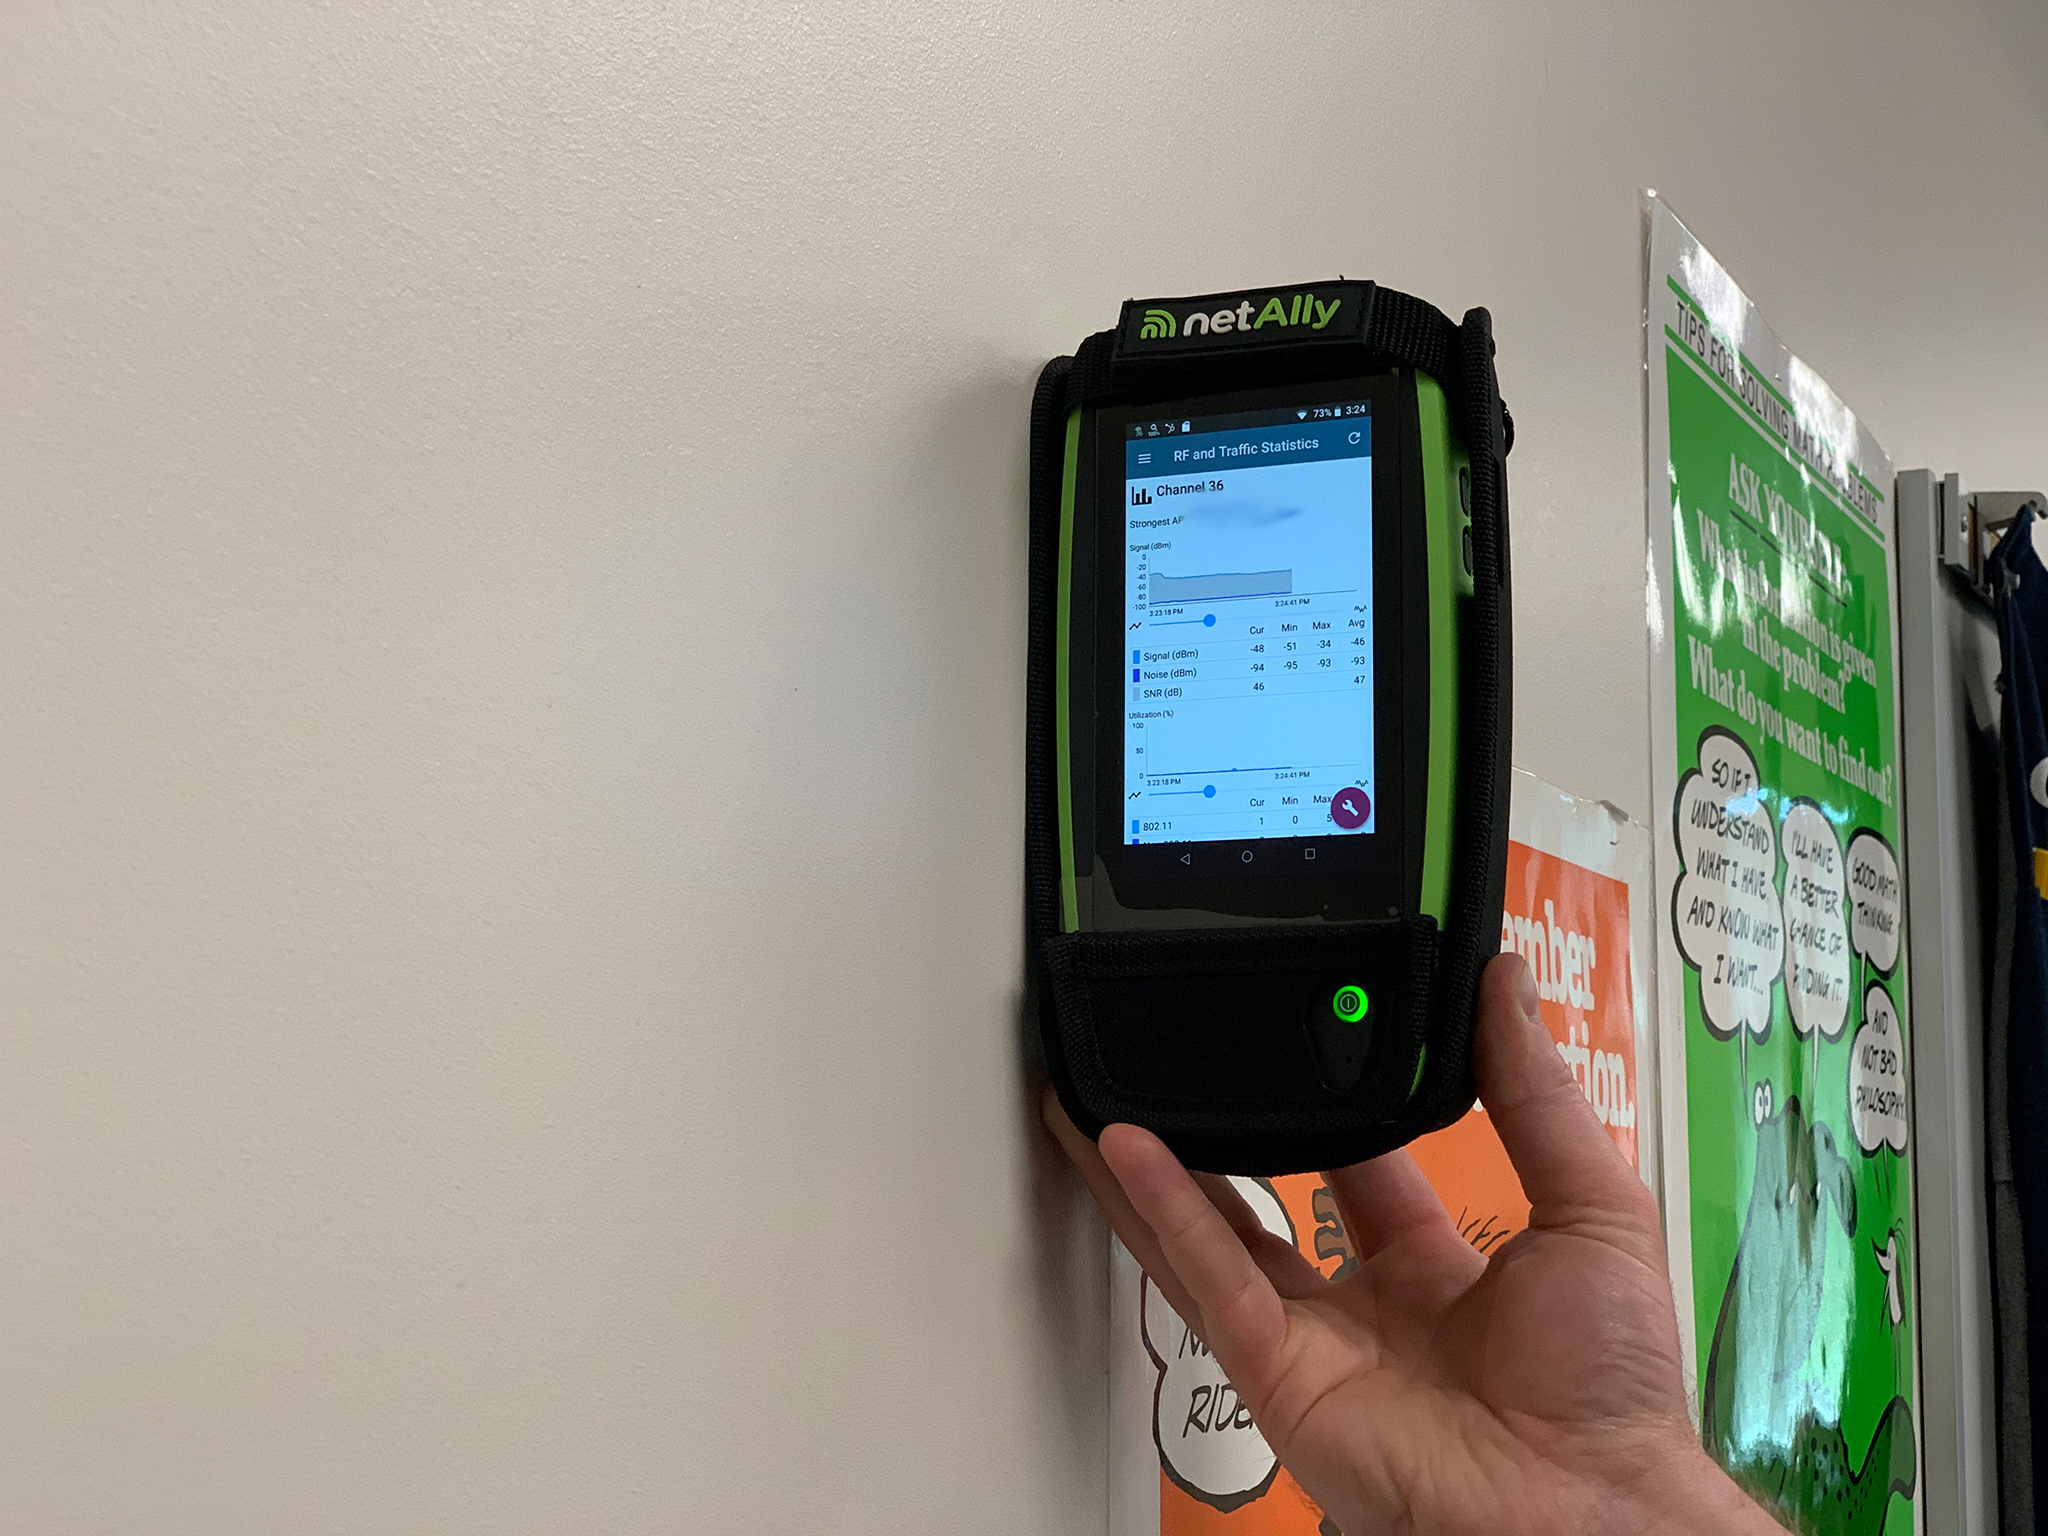
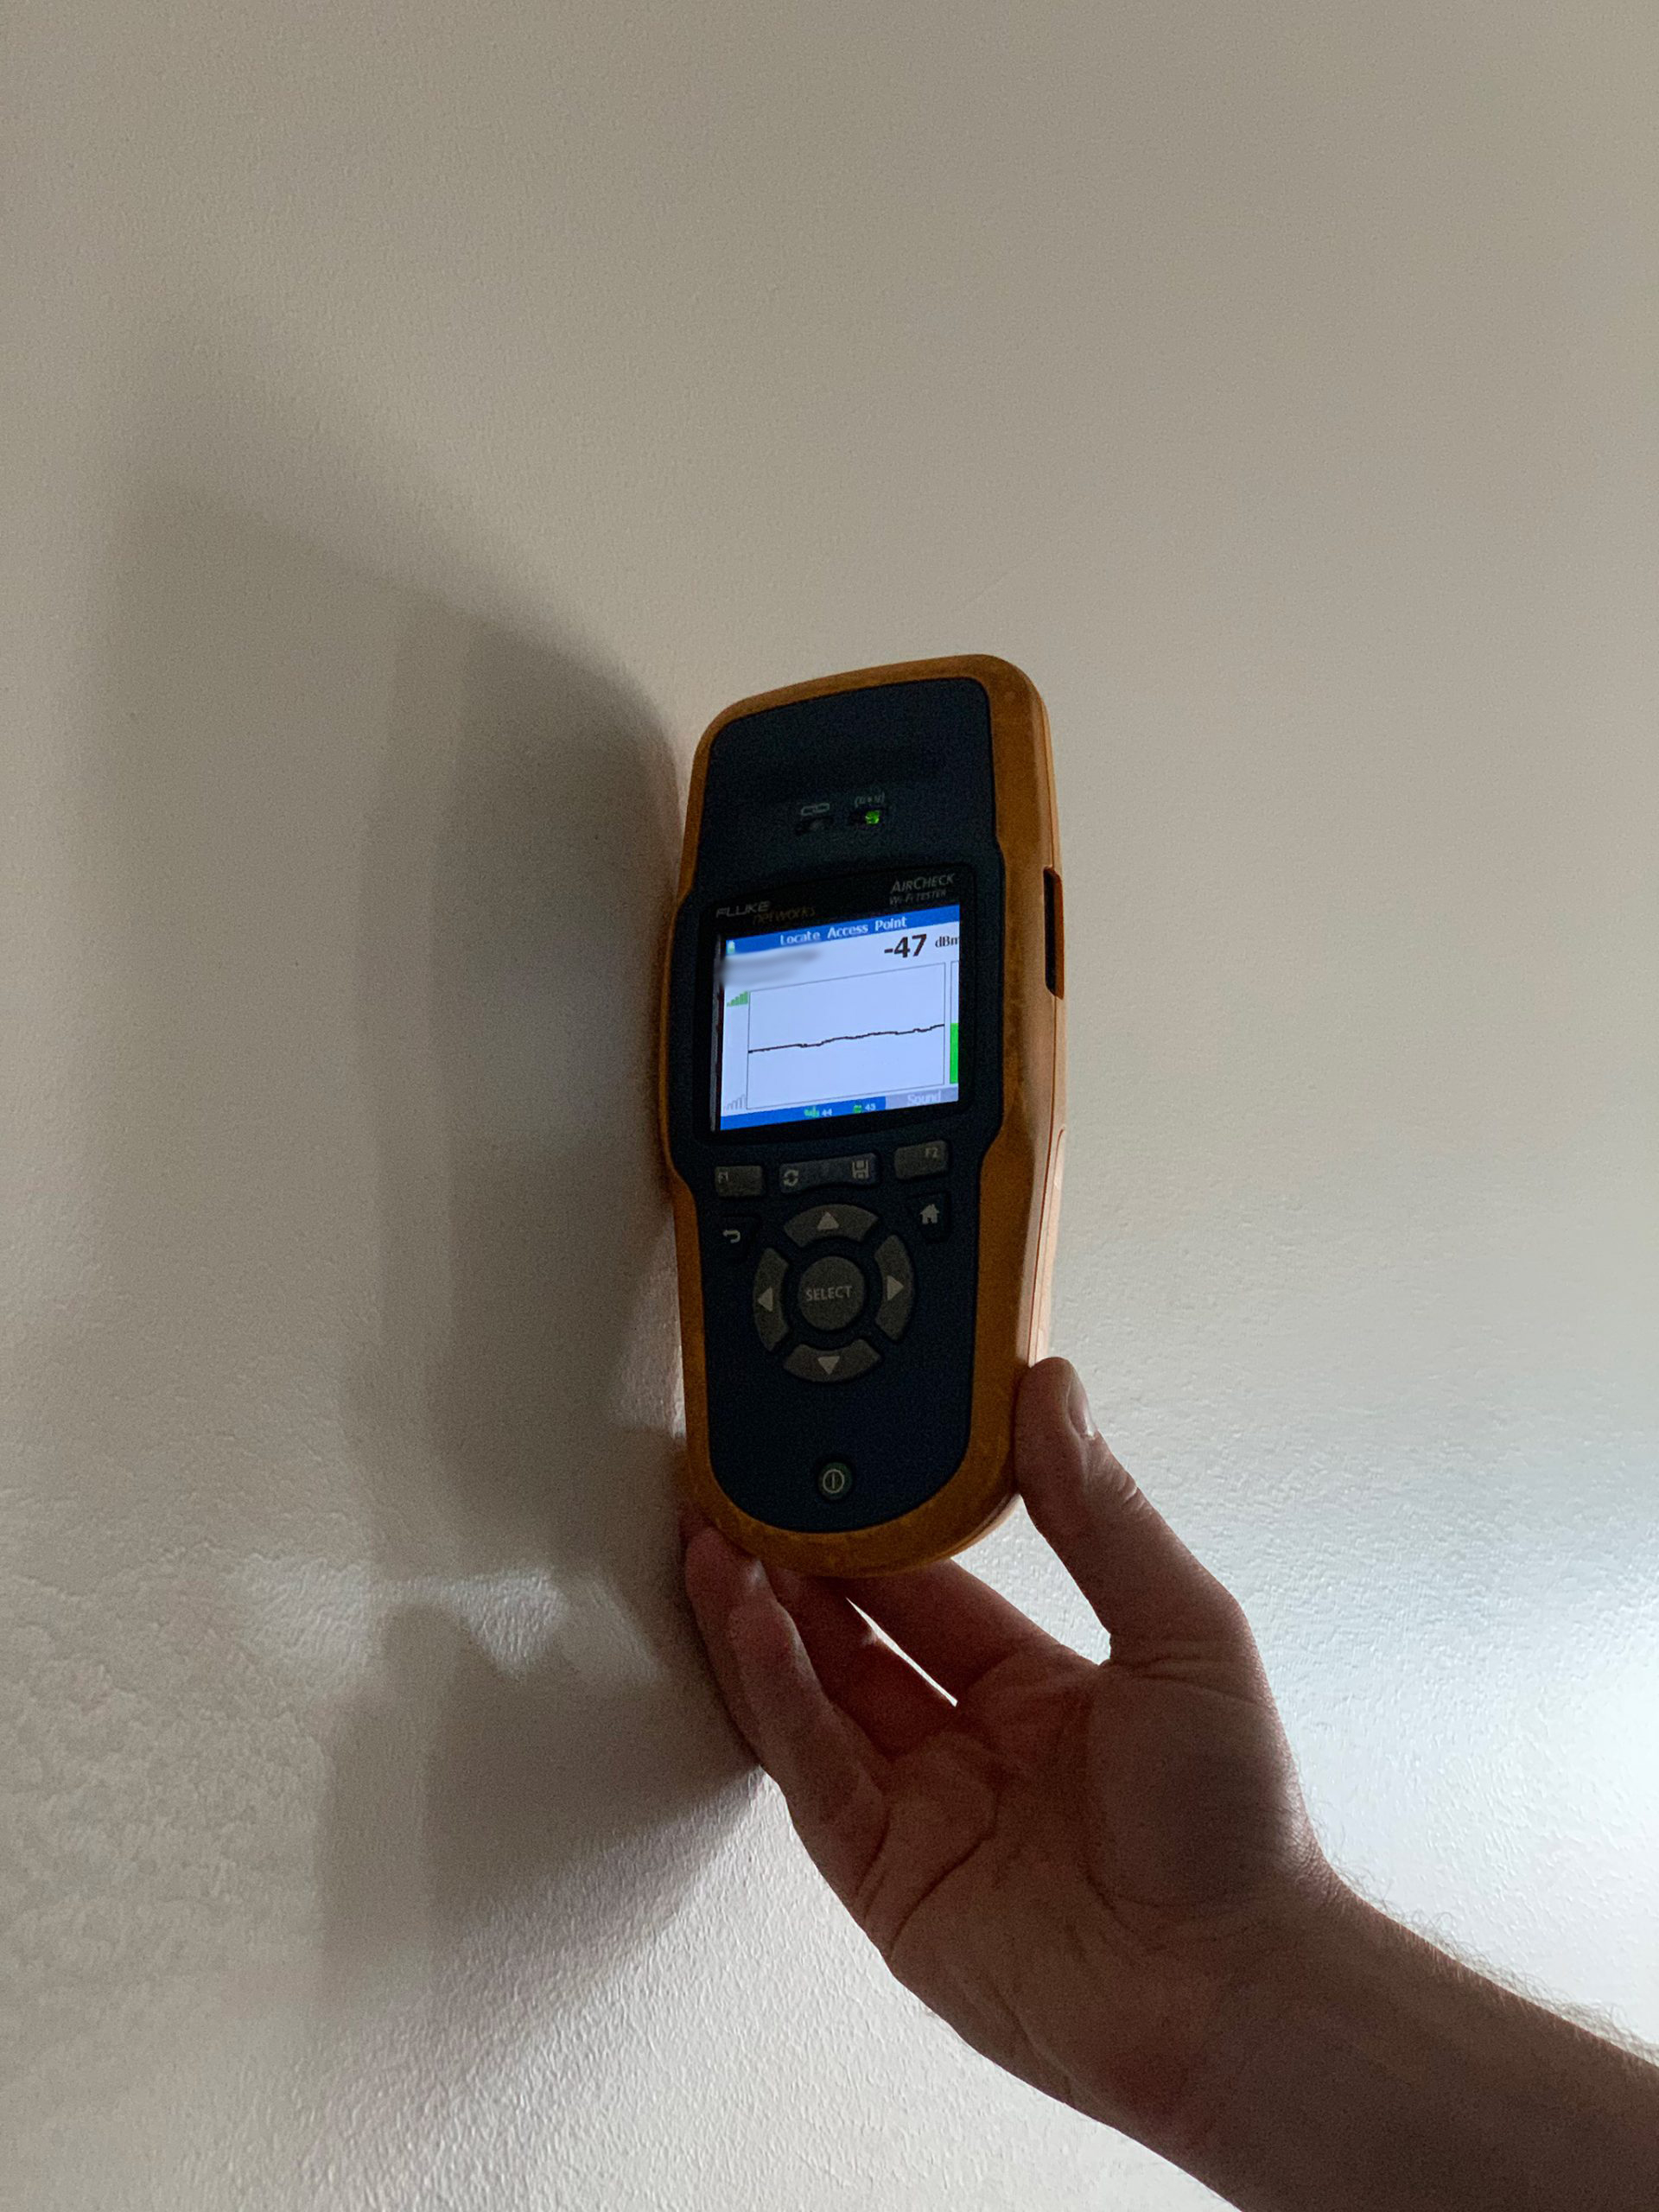
Now go to the other side of the wall, find this same location, and measure again. When doing this measurement make sure not to change the orientation of the device, the same side that was facing the AP in the last measurement should still be facing the AP. (Its hard to see in the photos but the volumes controls for the device are both facing the AP. )
Record the data from this location and subtract it from your first measurement, you should now have the DB loss of this wall.
Repeat these steps for any additional locations you would like to measure.
Based on your results you may want to average this data or determine if the DB loss is enough from one area to the next to classify these as different walls.
Please note that these measurements can vary depending on different criteria, such as wall type, build material, conduits or steel studs in the wall, etc.
For a really good video explination of this, Eddie Forero did a great job of this, see it here.
Please feel free to leave your thoughts and comments on this topic, or if you have some advice I should try please let me know.
Thank you,